I made a promise in my last article to explain how you can have guaranteed collision detection while using fixed timesteps even with 30 FPS. This article is the first of a two part series that will deliver this promise:
This time we are going to move our rectangle around with a juicy, smooth movement that feels good to the player and in the next one, we will create a simple, static, grid based environmental collision system which will detect all the collisions, regardless of how fast your objects are moving.
If you did not read my article about fixed timesteps, do that now because we will build on top of it. You can also download the source code there if you don’t have it.
This article was born based on Sébastien “deepnight” Benard‘s (Dead Cells) amazing work, so I’d like to give him all the due credits.
There are lots of tutorials in the internet about how to move an object on the screen so I’m not going to repeat those in details, just outline how the usual movement tutorials look like.
First, let’s clean up the code from the last time by deleting all code related to the red and the blue rectangles. Also since we only have the the green rectangle left, let’s rename the related variables to something simpler. Or just simply download the starter code from here for this tutorial, and you can skip the deletion/renaming parts to make sure we’ll start with the same codebase.
But if you’d rather code yourself, this is how our class variables look like now:
// we are updating the rectangle in the FixedUpdate() loop
// but we also interpolate it's position
Texture2D rectangle;
Vector2 currentPosition = new Vector2(30, 170);
Vector2 previousPosition = Vector2.Zero;
float movementSpeed = 6.6f;
And now we are are going to do some coding. If you look up any basic movement tutorial, you are going to find something like the following.
Add a new class variable to store the keyboard state:
KeyboardState keyboardState;…and update it in the beginning of our normal Update() method, you can just simply add the following line to the very first line there:
keyboardState = Keyboard.GetState();Now, let’s create a new function that reacts to the keyboard inputs by moving the object around:
private void MoveObject()
{
    if (keyboardState.IsKeyDown(Keys.Left))
    {
        currentPosition.X -= movementSpeed;
    }
    if (keyboardState.IsKeyDown(Keys.Right))
    {
        currentPosition.X += movementSpeed;
    }
    if (keyboardState.IsKeyDown(Keys.Up))
    {
        currentPosition.Y -= movementSpeed;
    }
    if (keyboardState.IsKeyDown(Keys.Down))
    {
        currentPosition.Y += movementSpeed;
    }
}
Let’s remove the code that moves around the rectangle automatically in the FixedUpdate method and call our new MoveObject() instead. This is how your FixedUpdate() method should look like now:
private void FixedUpdate()
{
    previousPosition = currentPosition;
    MoveObject();
}
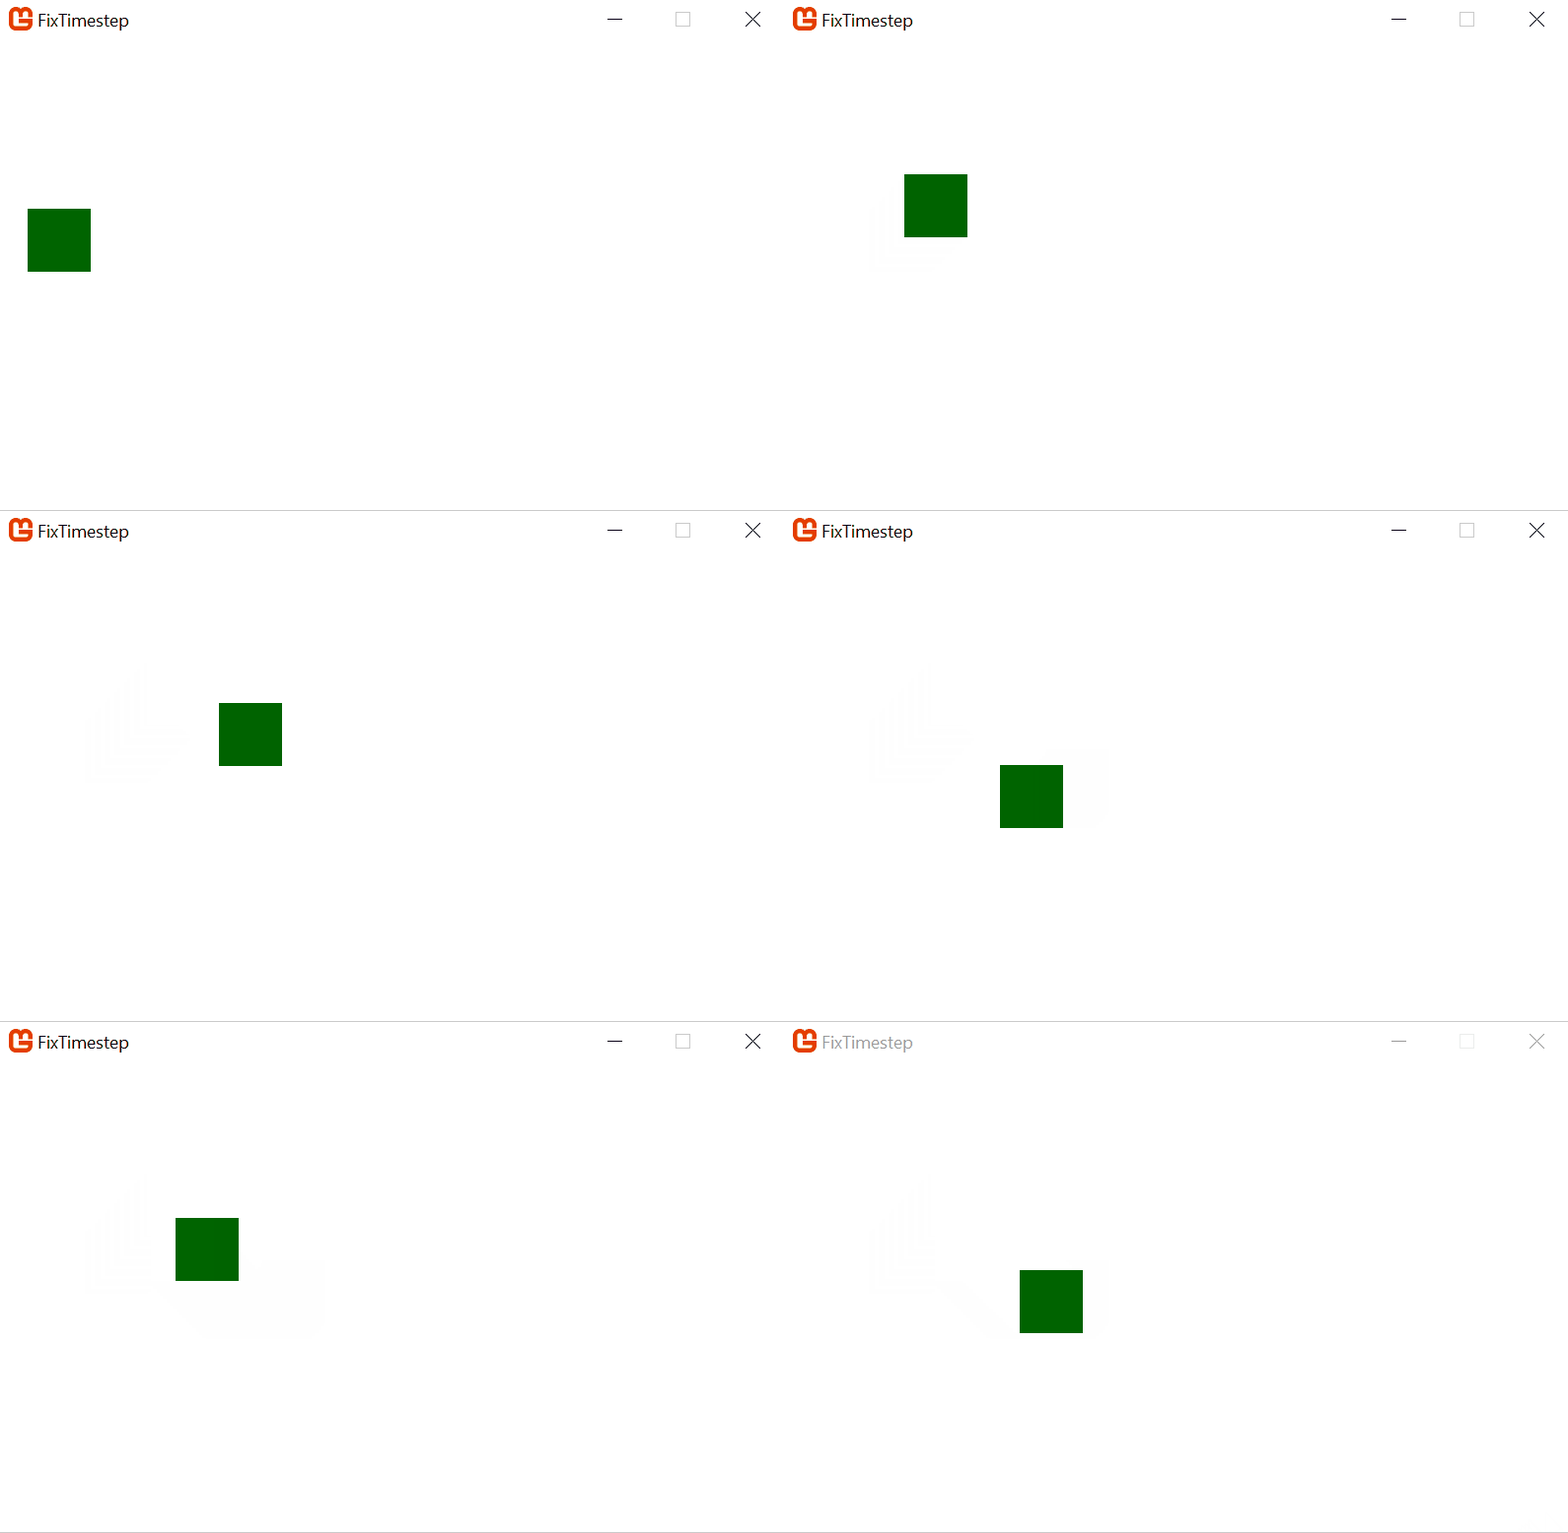
Let’s try our code, you should be able to move around your rectangle with the keyboard arrows:

It works!
But something might catch your attention: we are not multiplying with the elapsedTime value. Why? Because we are calling our movement code from the FixedUpdate method where the timesteps won’t change. The elapsedTime has no meaning here, because it doesn’t matter how fast the hardware can render, the movement will be updated with a fixed delay. If you want to create a cool bullet-time effect in your game, make a global variable with initial value 1 and multiply with that everywhere where you would normally multiply with the elapsedTime. If you set this value to 0.5 later, everything will move 50% slower. You can also apply the same trick to animations and in every other code that you update in the FixedUpdate method (not for collisions though, but you also wouldn’t multiply it with the elapsedTime either).
Although this works, the movement feels really artificial. We want a bit more juiciness here that doesn’t just work, but also feels good for the player, so let’s improve this. Instead of directly altering the position of the square, let’s introduce 2 variables: one to hold the current velocity of the cube and another one called friction, which will gradually decrease the velocity instead of immediately stopping.
Vector2 velocity = Vector2.Zero;
float friction = 0.7f;
Let’s change the MoveObject() function to add/remove to/from the velocity instead of the position:
private void MoveObject()
{
    if (keyboardState.IsKeyDown(Keys.Left))
    {
        velocity.X -= movementSpeed;
    }
    if (keyboardState.IsKeyDown(Keys.Right))
    {
        velocity.X += movementSpeed;
    }
    if (keyboardState.IsKeyDown(Keys.Up))
    {
        velocity.Y -= movementSpeed;
    }
    if (keyboardState.IsKeyDown(Keys.Down))
    {
        velocity.Y += movementSpeed;
    }
}
Finally, we are going to update the object’s position using the velocity and then, instead of zeroing out the velocity vector, we are going to decrease it gradually by multiplying it with the friction:
private void FixedUpdate()
{
    previousPosition = currentPosition;
    MoveObject();
    currentPosition += velocity;
    velocity *= friction;
}
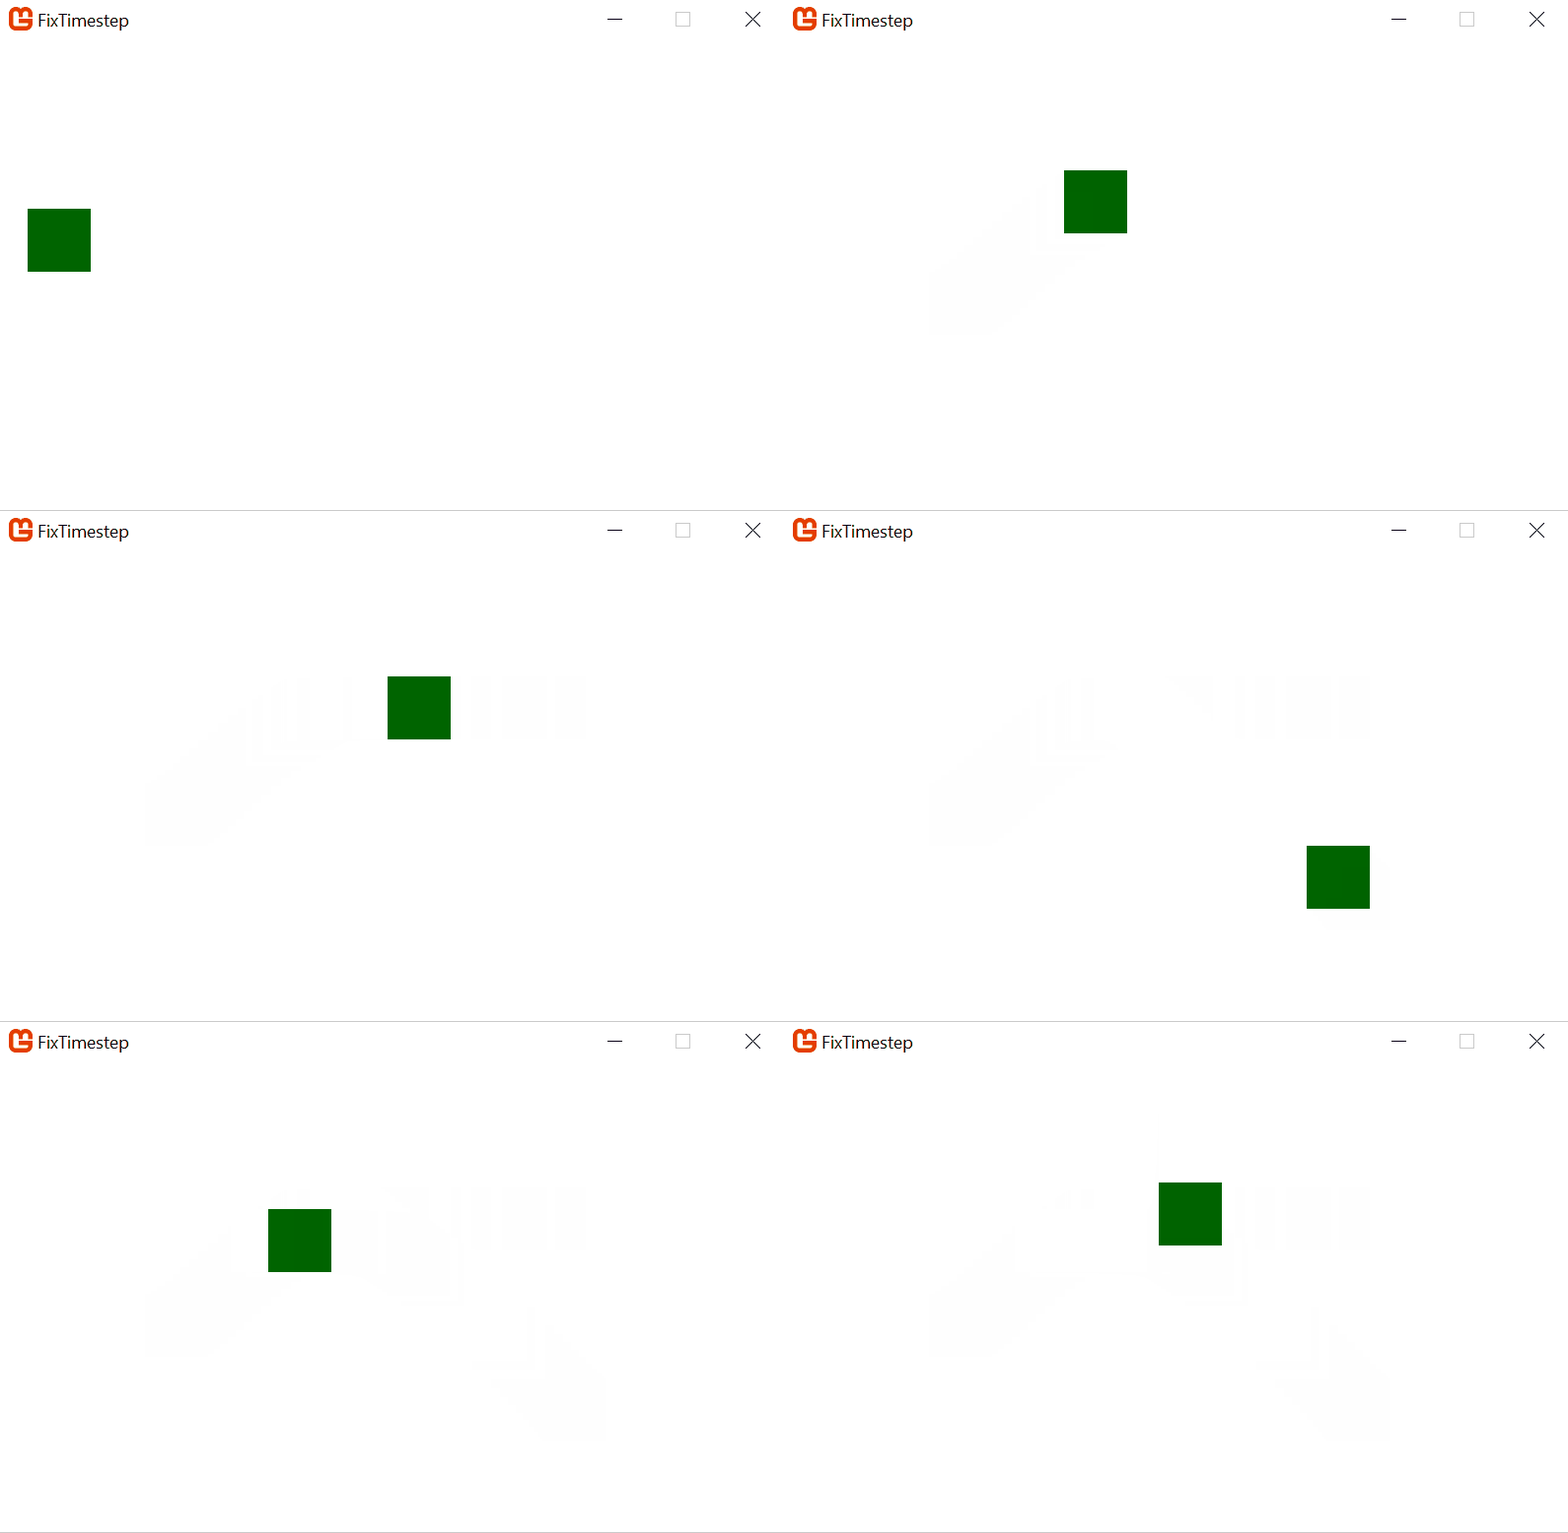
Let’s try the code now:

The .gif might not reflect this, but notice how much more natural this feels! You can try different friction values to see how your gameplay would feel and finetune it to your liking. You can also have different frictions for vertical and horizontal movements if you’d like, let’s get your hands dirty and experiment a bit 🙂
I hope you liked this short tutorial, if you had troubles following the code, you can download the complete source from here created with MonoGame 3.8. We are going to build on top of this is the next tutorial about collisions.
If you want more, head over to my next article about the collisions!
If you are interested in the implementation of the topics discussed on my blog, check out Monolith engine, my open source 2D game engine on GitHub.

Email : lajbertgames@gmail.com
Website : https://lajbert.github.io